This Article describes how to Export Transactions to Pastel
| Important Note |
|---|
| The Cashbook Utility will only export transactions that have been fully allocated. This means that the GDC value and the Account Number has been entered. All un-allocated transactions will remain in the Cashbook Utility. If you want to export all your transaction you need to allocate the correct account or you could allocate these transactions to a suspense account. |
Steps
- Select the bank account for which you want to Export transactions.
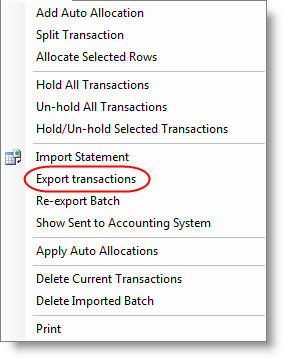
- Select Statement | Export transactions from the menu.

- Browse to the folder where you want the batch files to be created and click OK
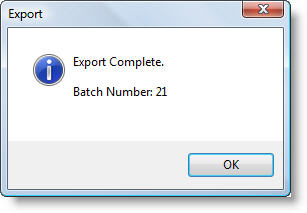
- The transactions will be exported and a confirmation message containing the
new Batch Number displayed when the export is complete.

- Click Ok
Exported File Name (Pastel Accounting only)
The Cashbook Utility creates two files for each batch of transactions. One for Payments and one for Receipts. This section provides information on the file names used.
File Name segments
The names of the files created by the Cashbook Utility for import into the Pastel Cashbook consists of four segments:
E.g.: CB_8400000_Payments_00021.csv
Each segment is separated by an underscore "_" character.
Segments
- The characters "CB". This is simply to identify the file as a Cashbook Utility Import file.
- The "File Name Segment" as specified for the selected Bank Account. This value was specified when the Bank Account was added and can be changed by editing the File Name Segment of the Bank Account.
- Either "Payments" or "Receipts". This specifies whether this file is a Payments or Receipts batch.
- The Batch number assigned to the transactions in the Batch. This number is important as it separates the files created for different sets of transactions and allows you to Re-export Transactions if the file was accidentally deleted.